In this article, we will help you through the process of installing Windows 10 and Windows 11 using the Media Creation Tool.
Guide 01
Why Reinstall Windows?
Step 1: Download the Media Creation Tool
Step 2: Prepare a Bootable USB Drive
Step 3: Boot from the USB Drive
Step 4: Install Windows
Step 5: Complete the Setup
Why Reinstall Windows?
Installing a new copy of Windows on your computer can be an important task, whether you’re setting up a new device, installing a new operating system drive, or fixing issues on your existing system
This guide will walk you through the steps of a clean installation process, rather than upgrading from an older version of Windows. We do not recommend cloning your existing Operating System drive to a new drive, as this can cause issues when booting from the new drive.
Step 1: Download the Media Creation Tool
Visit the official Microsoft website to download the Media Creation Tool for the Windows version you want to install:
- For Windows 10: https://www.microsoft.com/en-us/software-download/windows10
- For Windows 11: https://www.microsoft.com/en-us/software-download/windows11
Click the “Download tool now” button to download the tool for the desired version of Windows.
Step 2: Prepare a Bootable USB Drive
- Insert a USB drive with at least 8GB of storage into your computer.
- Launch the Media Creation Tool by double-clicking the downloaded file.
- Accept the license terms.
- Select “Create installation media (USB flash drive, DVD, or ISO file) for another PC” and click “Next.”
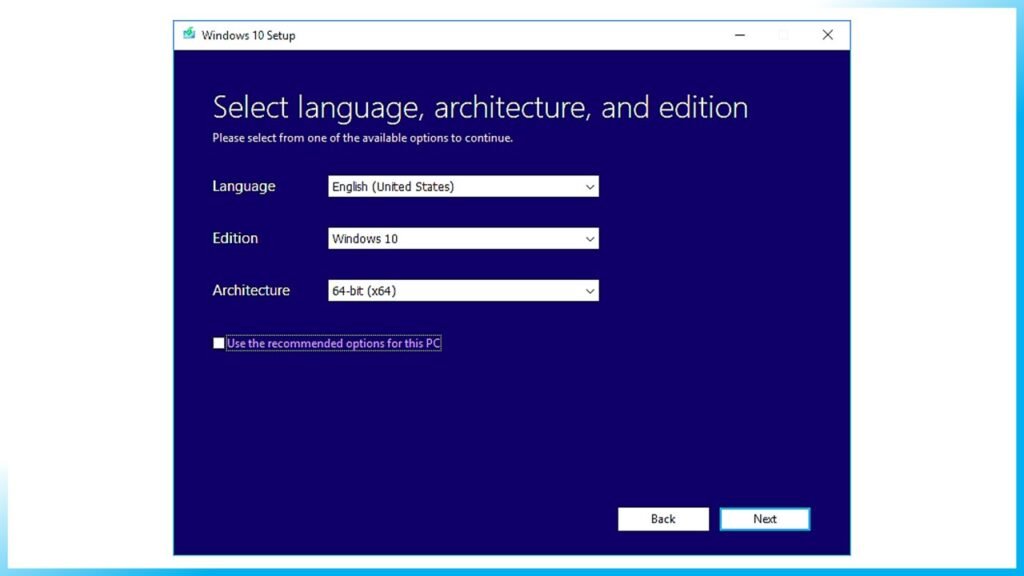
- Choose the desired language, edition, and architecture (32-bit, 64-bit, or both) for the Windows installation, then click “Next.”
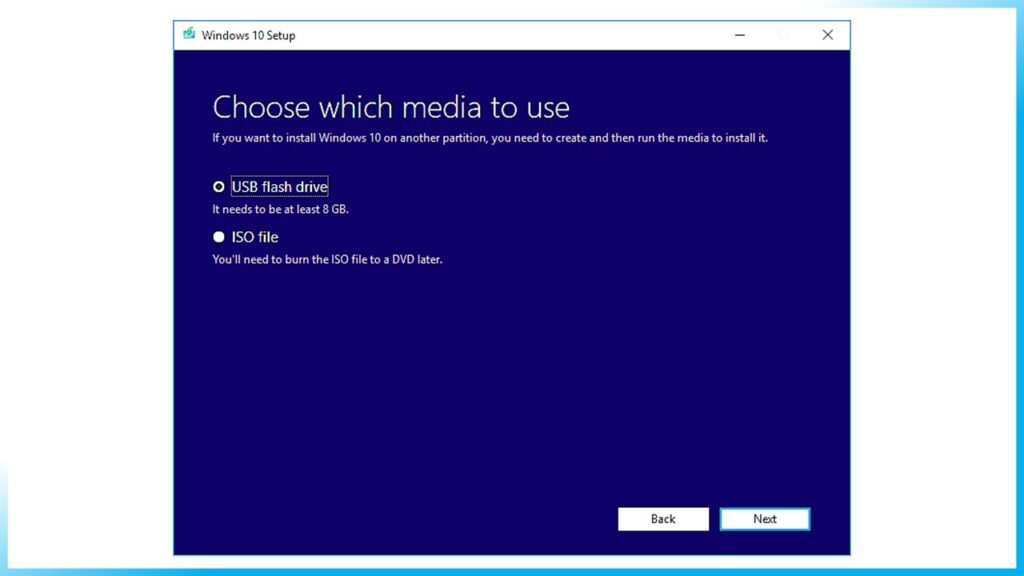
- Select “USB flash drive” and click “Next.”
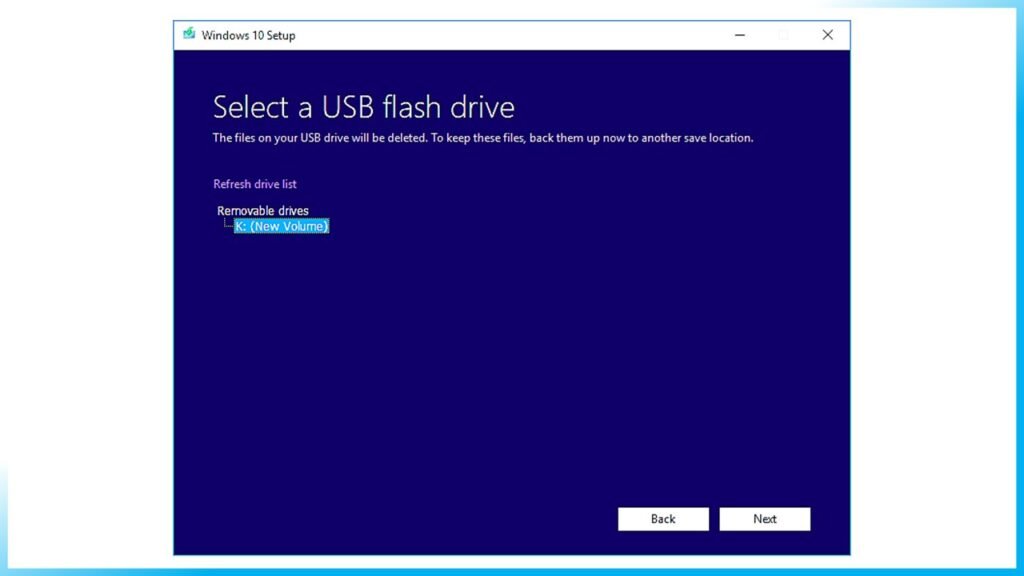
- Choose the USB drive you inserted earlier and click “Next.” The tool will now download the Windows files and create a bootable USB drive. This process may take some time, depending on your internet speed and the performance of your computer.
Step 3: Boot from the USB Drive
- Insert the bootable USB drive into the computer where you want to install Windows.
- Restart the computer and enter the BIOS or UEFI settings.
This usually involves pressing a specific key (such as F2, F10, or DEL) during startup. Refer to your computer’s documentation or search online for instructions specific to your device. - Locate the boot order settings and move the USB drive to the top of the list.
- Save your settings and exit the BIOS or UEFI. The computer should now boot from the USB drive.
Every motherboard has a different BIOS layout. Please check your BIOS/Motherboard manual to confirm where these settings are located.
Step 4: Install Windows
- When the Windows installation screen appears, select your language, time and currency format, and keyboard or input method. Click “Next.”
- Click “Install now.”
- If you have a Windows product key, enter it. If not, click “I don’t have a product key” to proceed. You can activate Windows later with a valid product key.
- Choose the Windows edition you want to install and click “Next.”
- Accept the license terms and click “Next.”
- Select “Custom: Install Windows only (advanced).”
- Choose the drive or partition where you want to install Windows. If you need to create a new partition or format an existing one, use the available options. Be aware that formatting a partition will erase all data on it.
- Click “Next” to start the installation process. The computer may restart several times during the installation.
Step 5: Complete the Setup
After the installation is complete, you will be prompted to set up your preferences and create a user account. Follow the on-screen instructions to customize your Windows experience.
Guide 02
A Complete Guide to Use Windows 10 Media Creation Tool
Windows 10 Media Creation Tool is a very useful tool for users to upgrade Windows 10 or reinstall Windows 10. In this article, I will show you how to use Windows 10 Media Creation Tool to make Windows installation media or to download ISO file with detailed steps and screenshots.
When you want to install or upgrade Windows 10, you will need a Windows 10 installation media like a bootable USB drive or CD/DVD disc. And Windows 10 Media Creation Tool enables you to create an installation USB drive or download its ISO file so that you can burn on to a DVD to install the operating system on a different computer.
It sounds that using Media Creation Tool to upgrade or install windows 10 is very convenient. However, some users don’t know what it is and how to make use of this utility.
What Is Windows 10 Media Creation Tool
The free Windows 10 Media Creation Tool is a very popular utility developed by Microsoft. With this marvelous Windows 10 creation tool, you can upgrade Windows 10 to its latest version without a hassle and create a Windows 10 installation USB drive/DVD disc to perform a clean install or to repair a problematic PC.
Use Windows Media Creation Tool to Upgrade Your PC
Windows Media Creation Tool is also a Windows upgrade tool as it can upgrade your PC to the latest Windows 10 version. According to many Windows 10 users, using Windows Update to upgrade Windows 10 may encounter some errors like the common Windows 10 update error 0x8007007e, leading to upgrade failure.
In this case, it is highly recommended to utilize Windows 10 Media Creation Tool to upgrade Windows 10. With this Windows upgrade tool, you can quickly upgrade your computer to the latest version of Windows 10. Here are detailed steps and screenshots.
Step 01:
Download Windows 10 Media Creation Tool from Microsoft’s official website.
Step 02:
Run the Media Creation Tool. To run this tool, you need to be an administrator.
Step 03:
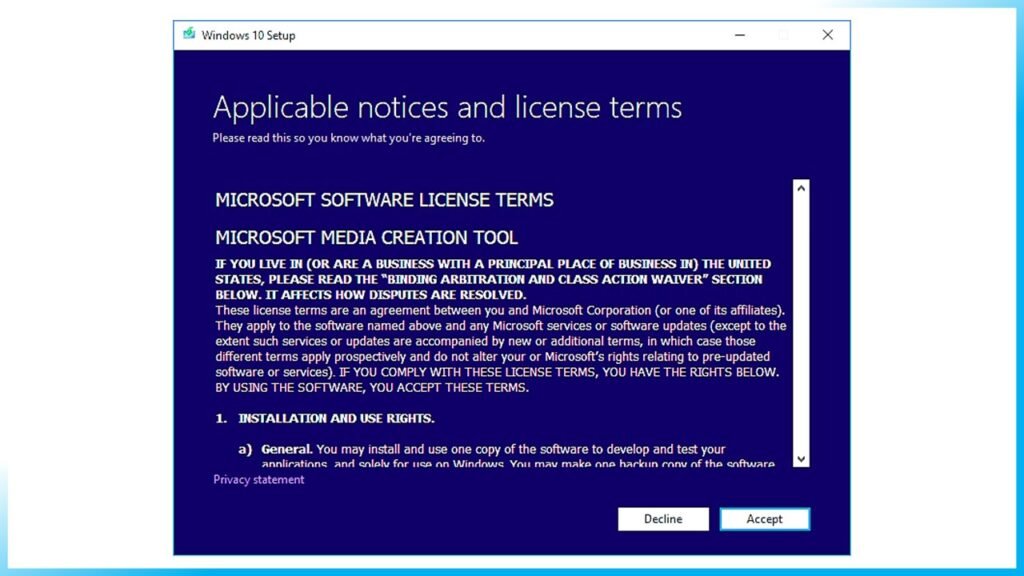
On this page, select Accept.
Step 04:
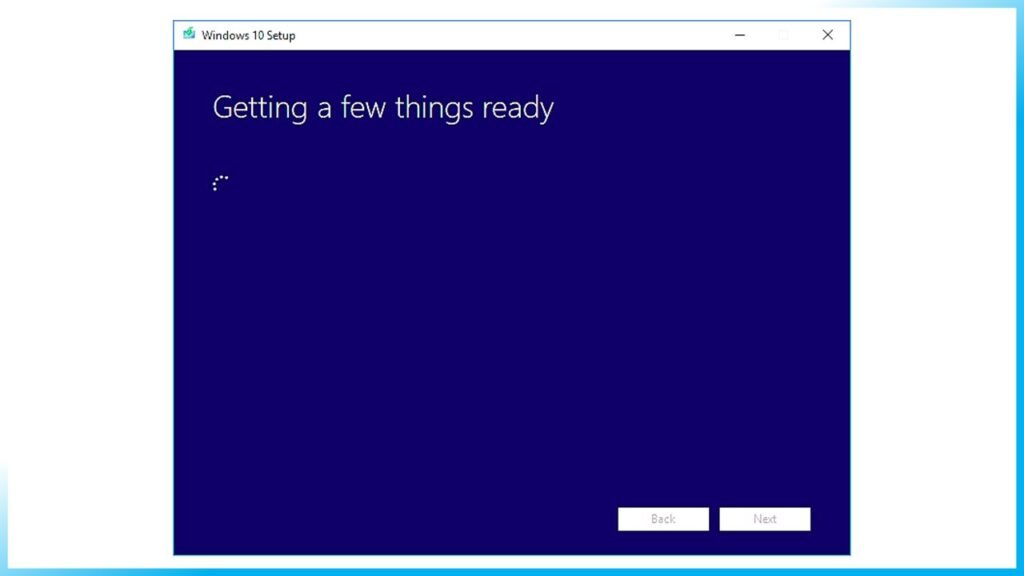
Wait patiently for Media Creation Tool to get a few things ready. When it’s done, you can continue.
Step 05:
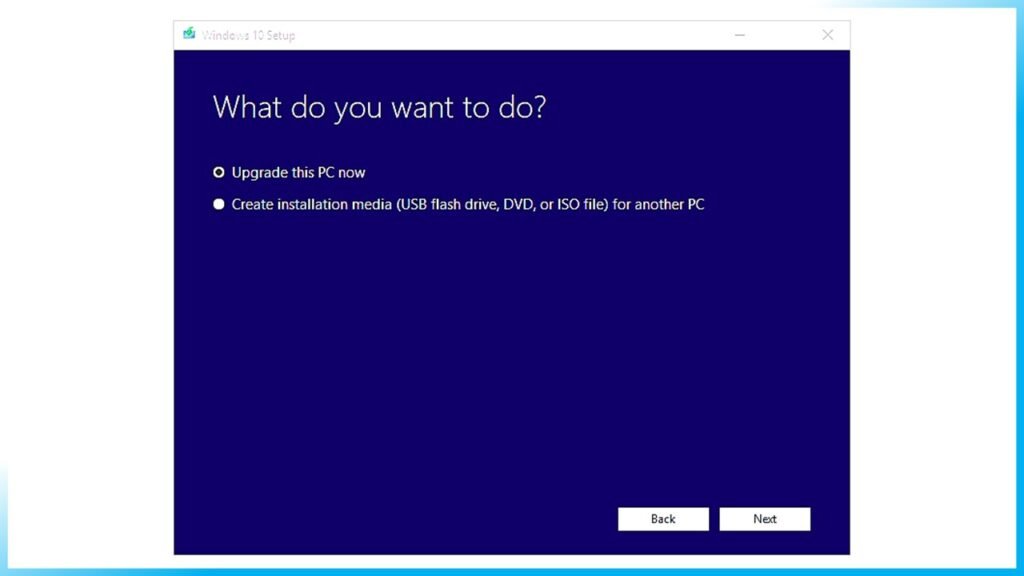
On the What do you want to do page, select Upgrade this PC now, and then click Next.
Step 06:
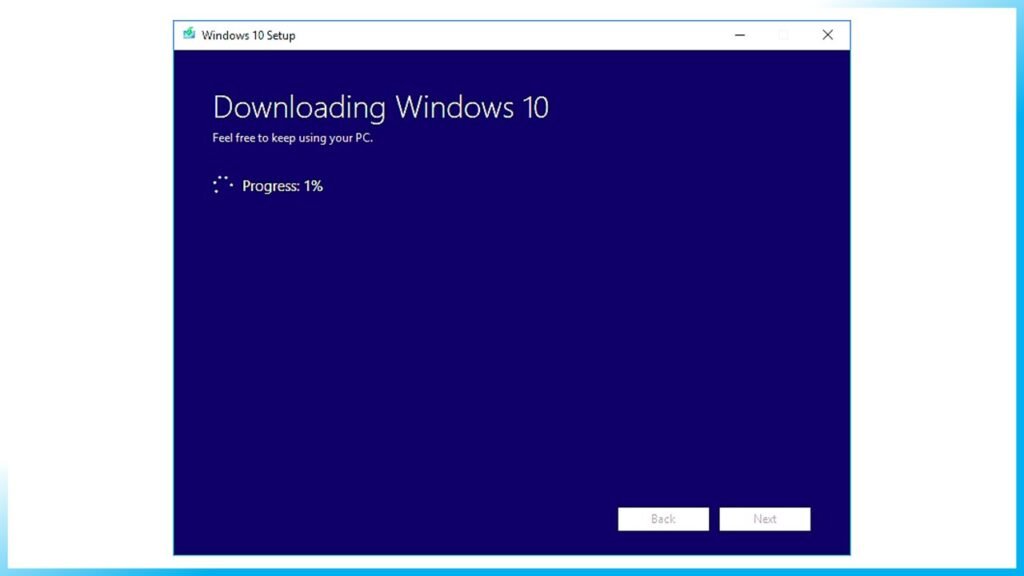
At this time, Media Creation Tool will download some files for updates and then check your PC. This process may take some time. Just wait patiently and it won’t be too long.
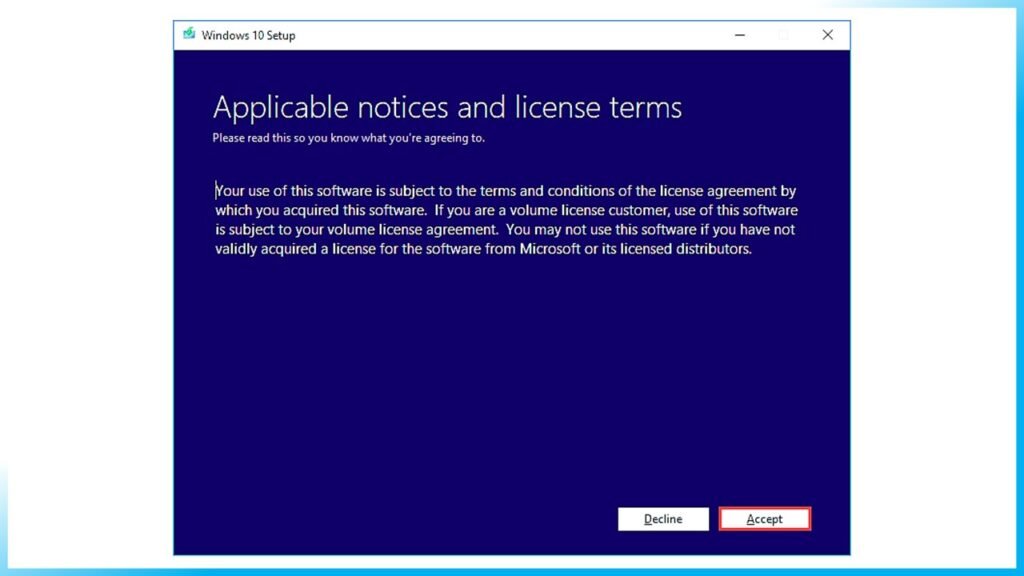
Step 07:
Read the license terms and click Accept.
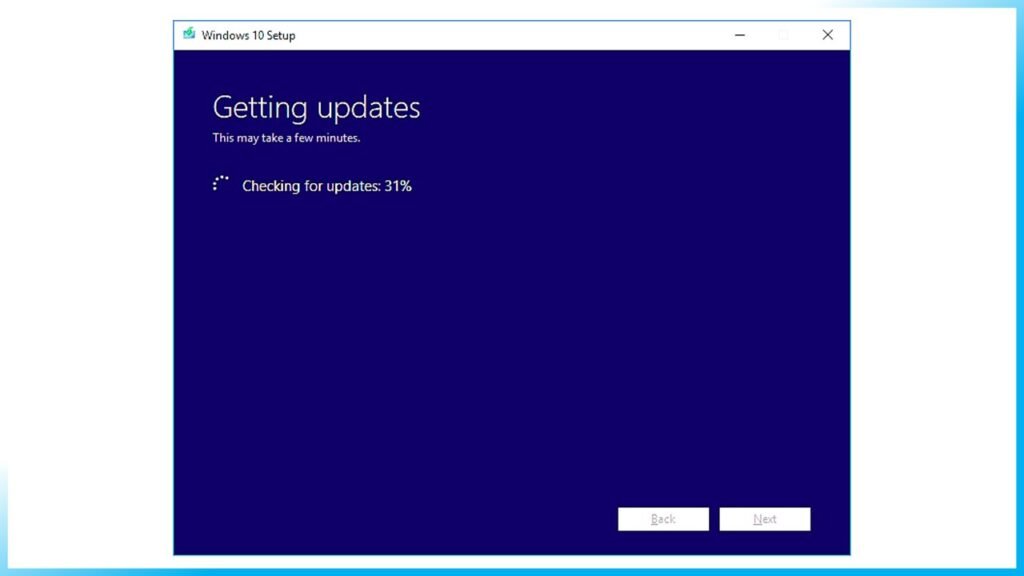
Step 08:
Wait for Media Creation Tool to check for updates.
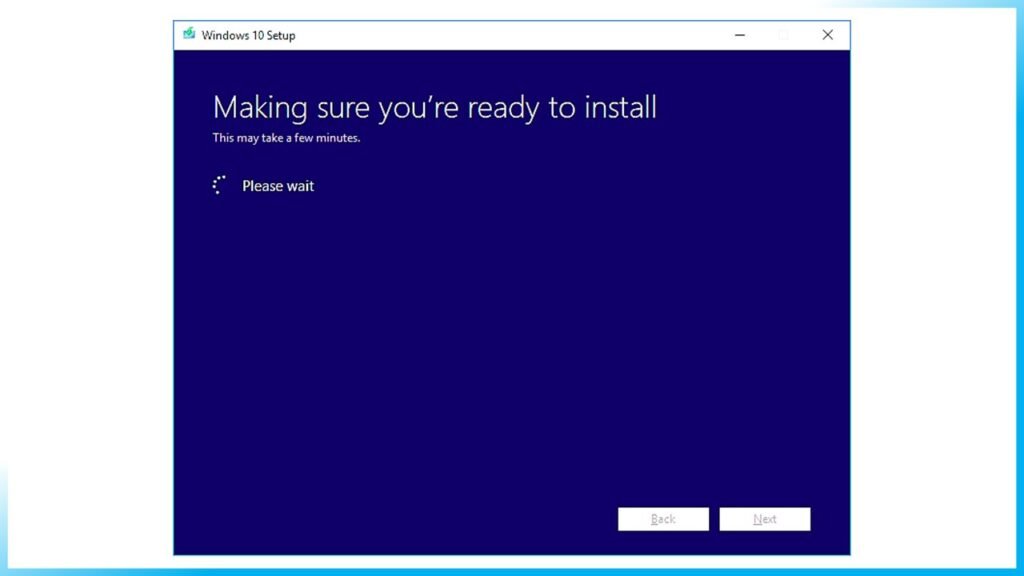
Step 09:
Windows 10 Media Creation Tool will check for your PC again and make sure you are ready to install.
Step 10:
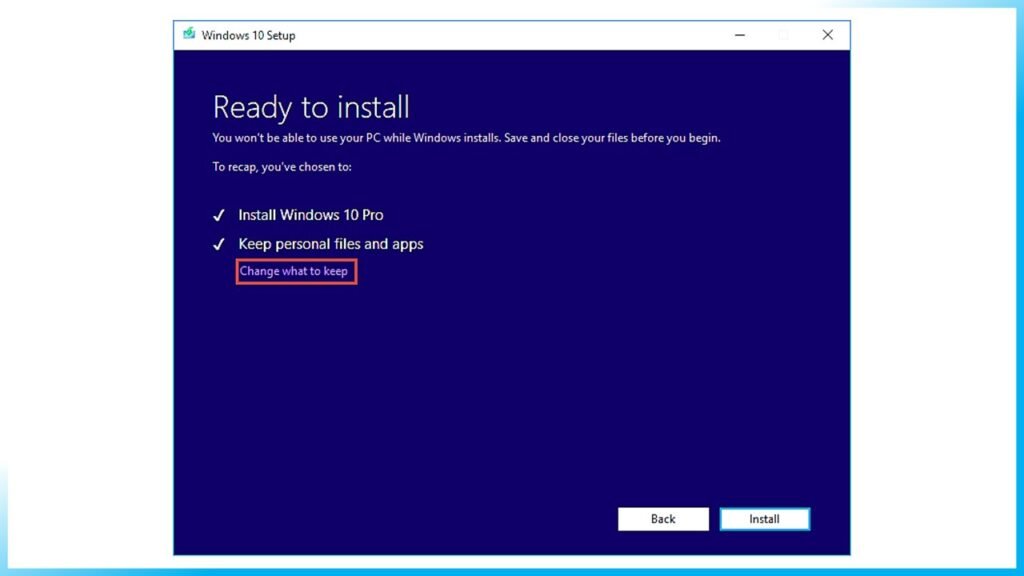
When you get this page, you’ll see a recap of what you’ve chosen, and what will be kept through the upgrade. Choose Change what to keep, you can select what to keep by yourself.
Step 11:
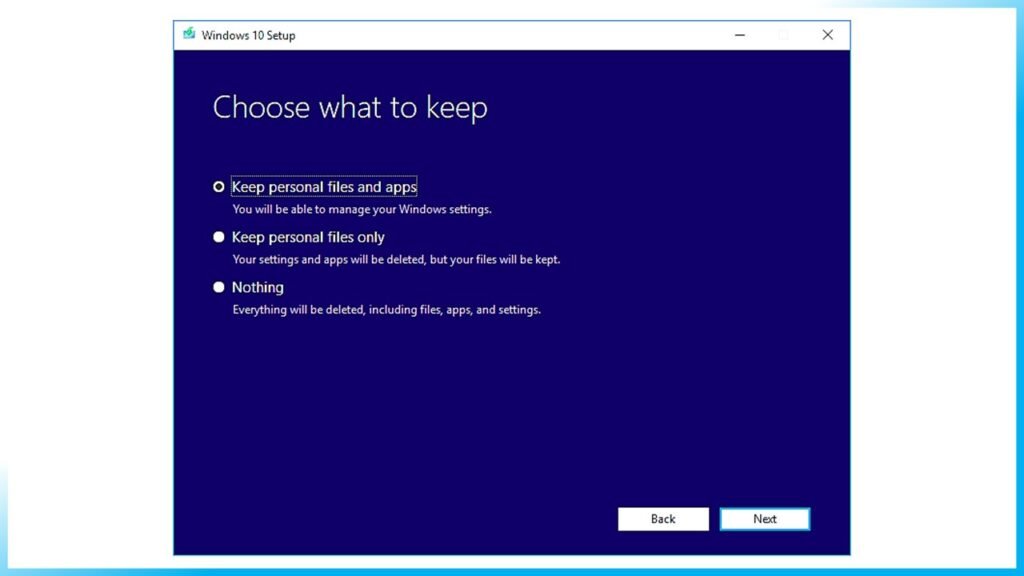
Choose whether you would like to Keep personal files and apps, Keep personal files only, or keep Nothing during the upgrade. After selection, then click Next to continue.
Step 12:
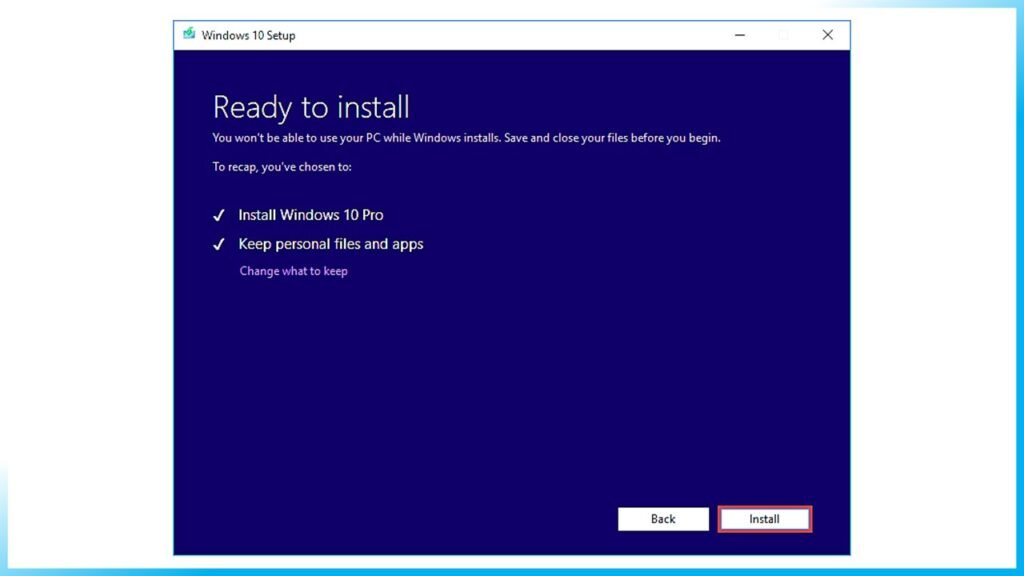
Close any running applications and when you’re ready, select Install. During the installation, your PC will restart for a few times. Please don’t turn off your PC.
Guide 03
Create an Installation Media or Download ISO file
Another function of Window 10 Media Creation Tool is that it can help you create an installation media for another PC or download ISO file. And all Windows 10 editions are available when you select Windows 10, except for Enterprise edition. When finished, you can use the bootable USB drive or DVD disc to install Windows 10.
Before you download Windows 10 Media Creation tool, make sure you have:
- A PC with a working Internet connection
- A blank USB flash drive or DVD with at least 8 GB of available storage space
- A product key if you’ve not installed Windows 10 before or if you want to perform a clean install
Now you can follow the steps as below to create Windows 10 installation media (USB flash drive or DVD) and use it to install a new copy of Windows 10, perform a clean installation, or reinstall Windows 10.
Step 01:
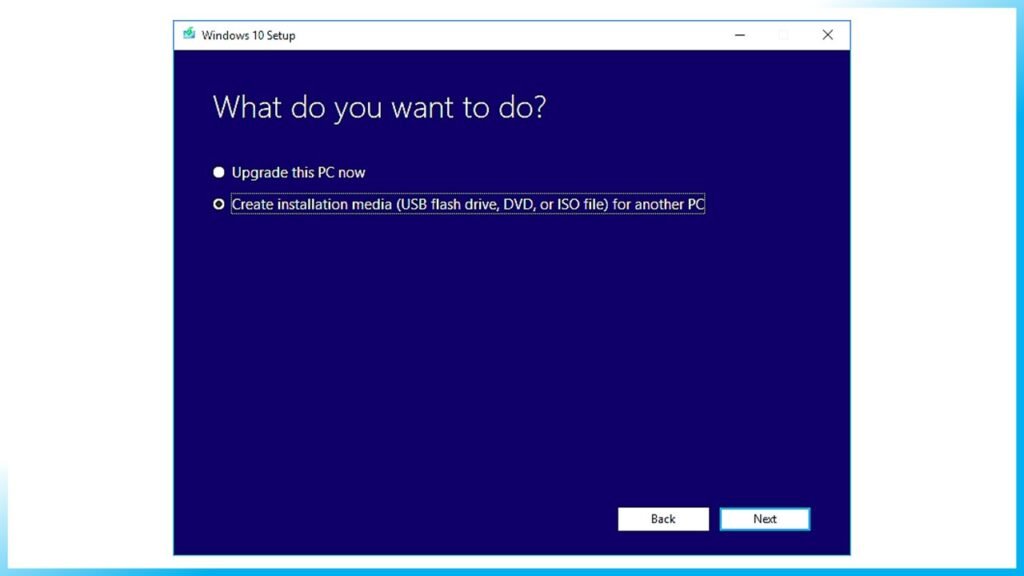
Download Windows 10 Media Creation Tool and follow the instruction to get the following page. Then, check the second option Create installation media (USB flash drive, DVD, or ISO file) for another PC and click Next.
Step 02:
Choose the Language, Windows Edition, and Architecture that you want to use for creating the installation media. After selection, then click Next to continue.
You can also choose to Use the recommended options for this PC, which automatically selects the language, edition, and architecture that match the PC that you are using right now.
Step 03:
Choose what kind of media storage device you want to use. Here I take USB flash drive as an example. Choose USB flash drive and press Next.
Step 04:
Select the USB drive you want to use for creating Windows 10 installation media and click Next.
Step 05:
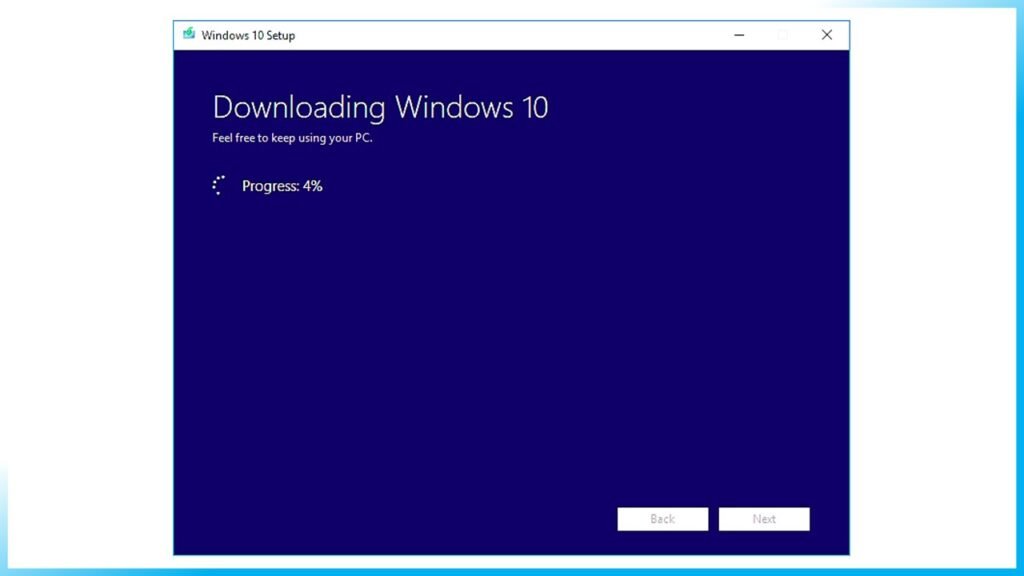
Then Microsoft Media Creation Tool starts to download the latest Windows 10 installation files on your computer or device.
Step 06:
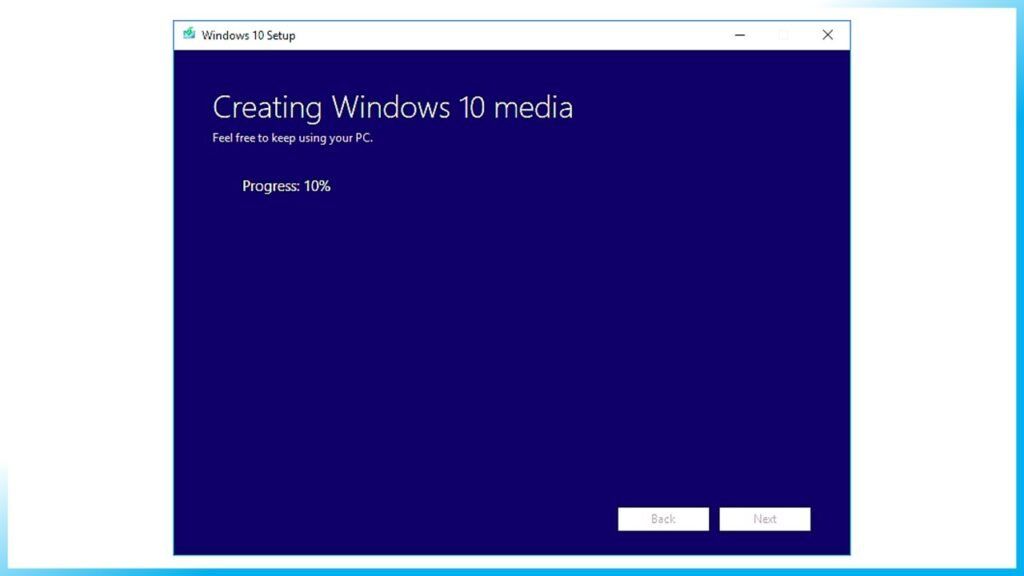
When the download is completed, it will start to create Windows 10 media.
Step 07:
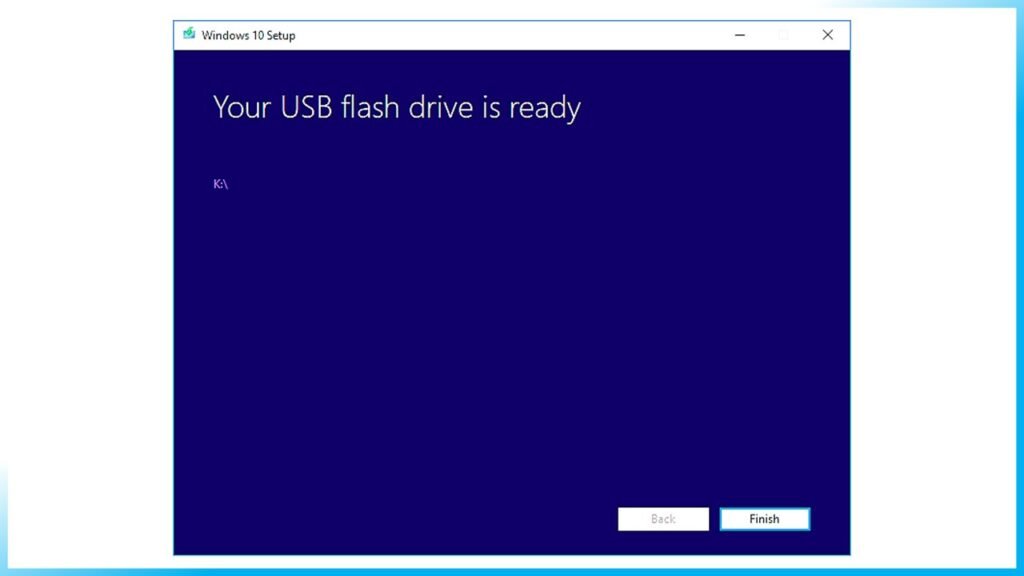
When it is done, click Finish and then you can use that drive to boot up your computer and install Windows 10.
Step 08:
If the computer that you want to install Windows 10 has a DVD player, you can also select ISO file to burn the ISO file to a DVD later.
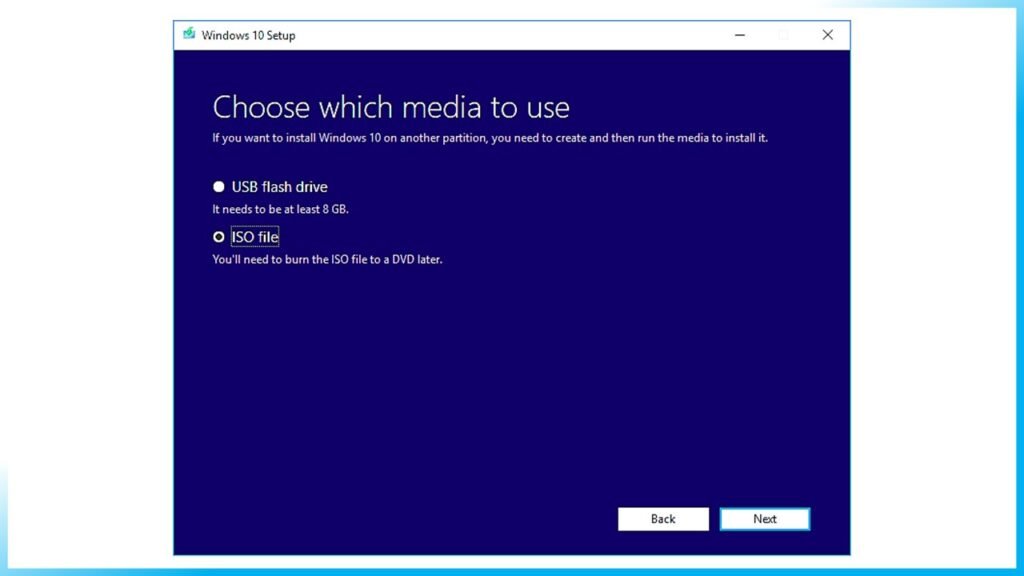
Just follow the step-by-step prompts on the Media Creation Tool to download Windows 10 installation files and save the ISO file to a specific location. When it is finished, you can burn the ISO file to a DVD.


